Geotextile Fabric For French Drain (What It Is And Why It Matters)
If you’re planning a French drain or trying to figure out why an old one stopped working, geotextile fabric might not be the first thing on your radar.
Most people focus on the pipe and the gravel, since those feel like the “important” parts.
The fabric usually gets treated like an extra, or skipped entirely to save a little time or money.
That small layer, though, can make the difference between a drain that works for decades and one that slowly clogs up and fails.
In this post, we’ll break down what geotextile fabric actually does in a French drain, why it matters so much, and when it’s something you really don’t want to leave out.
Why Is Geotextile Fabric Used In French Drains?
French drains fail for one main reason: clogging.
Over time, fine soil particles migrate into the gravel bed and the perforated pipe.
Once that happens, water movement slows down, then stops, and suddenly your “fix” isn’t fixing much at all.
Geotextile fabric creates a barrier between the surrounding soil and the drainage materials. Water can pass through easily, but sediment can’t. That simple separation is what gives a French drain its staying power.
Here’s what geotextile fabric helps with:
- Keeps soil and silt out of the gravel and pipe
- Maintains consistent water flow
- Extends the life of the entire drain system
It also helps stabilize the trench itself. The fabric reduces soil movement, which means less settling and fewer low spots over time.
That’s one of those benefits you don’t notice right away but really appreciate years later.
What Happens If You Skip The Fabric
Skipping the fabric doesn’t cause instant failure, which is why some people roll the dice. Early on, everything seems fine. Water drains. The yard dries out. Job done.

Then slowly, quietly, the drain starts filling with dirt.
Without fabric, soil works its way into the gravel bed every time it rains. Fine particles pack tightly, reducing the open space water needs to move.
Eventually, the pipe clogs or the gravel turns into something closer to mud.
Common issues that pop up include:
- Reduced drainage after a year or two
- Standing water returning to the surface
- Full system replacement instead of a simple fix
At that point, the cost of skipping fabric usually ends up higher than doing it right the first time.
Also Read: How To Unclog A French Drain
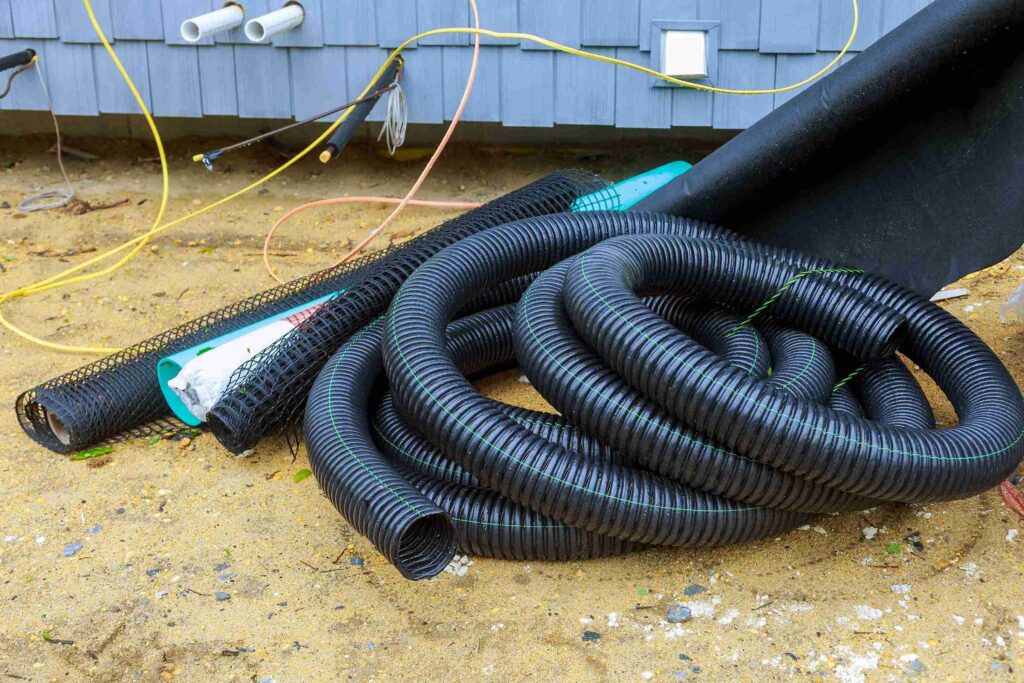
Types Of Geotextile Fabric For French Drains
The two main types of geotextile fabric for french drains are non-woven and woven fabrics. They look similar at a glance, but they behave very differently once buried.
Let us explain:
Non-Woven Fabric
Non-woven geotextile is the most common choice for French drains, and for good reason.
Non-woven fabric is made by needle-punching synthetic fibers together, which creates a material that looks a lot like felt. Because it isn’t “woven” in a traditional pattern, it has millions of tiny, random pores that allow water to pass through from any direction.
This type works especially well in clay-heavy or silty soils where clogging is a bigger risk. It’s flexible, easy to install, and forgiving if the trench isn’t perfectly shaped.
It’s incredibly permeable, which is exactly what you want when you’re trying to move a lot of water away from your house during a thunderstorm.
For most residential drainage projects, non-woven fabric is the go-to option.
Woven Fabric
Woven geotextile looks more like a plastic mesh or tarp material.
You should generally avoid this for a French drain.
Woven fabric looks like a series of plastic ribbons or a tarp that has been interlaced. It’s incredibly strong, which makes it perfect for putting under a new gravel driveway to keep the rocks from sinking into the mud, but it’s terrible at letting water through.
If you use woven fabric in a drain, the water will often just sit on top of it like it’s a raincoat, defeating the entire purpose of your project.
It can work, but it’s usually not the best choice for typical yard drainage problems.
Best Fabric Weight For A French Drain
When you start shopping, you’ll see weights like 2 oz, 4 oz, or 8 oz. This refers to how much a square yard of the material weighs.
For a standard residential French drain, a 4-ounce non-woven fabric is usually the “Goldilocks” choice.
Also Read: How Much Does A French Drain Cost In Florida?
It’s thick enough that it won’t tear when you’re dumping heavy shovelfuls of rock onto it, but it’s thin enough that it won’t restrict the flow of water.
If you’re draining a yard, garden, or foundation perimeter, medium-weight non-woven fabric is almost always a safe and effective choice.
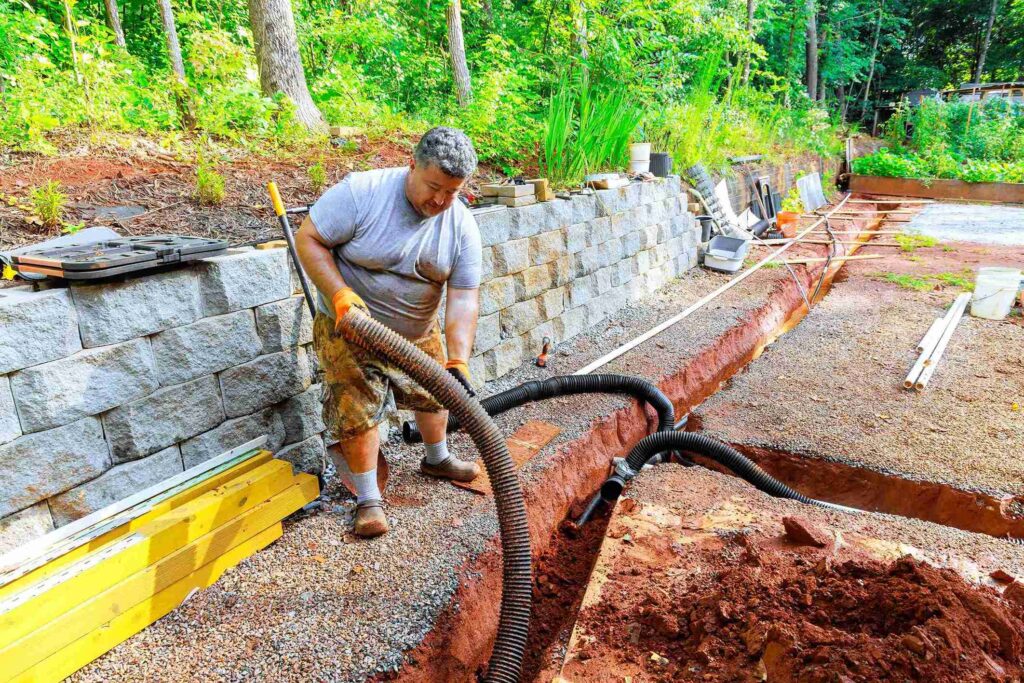
How To Install Geotextile Fabric In A French Drain
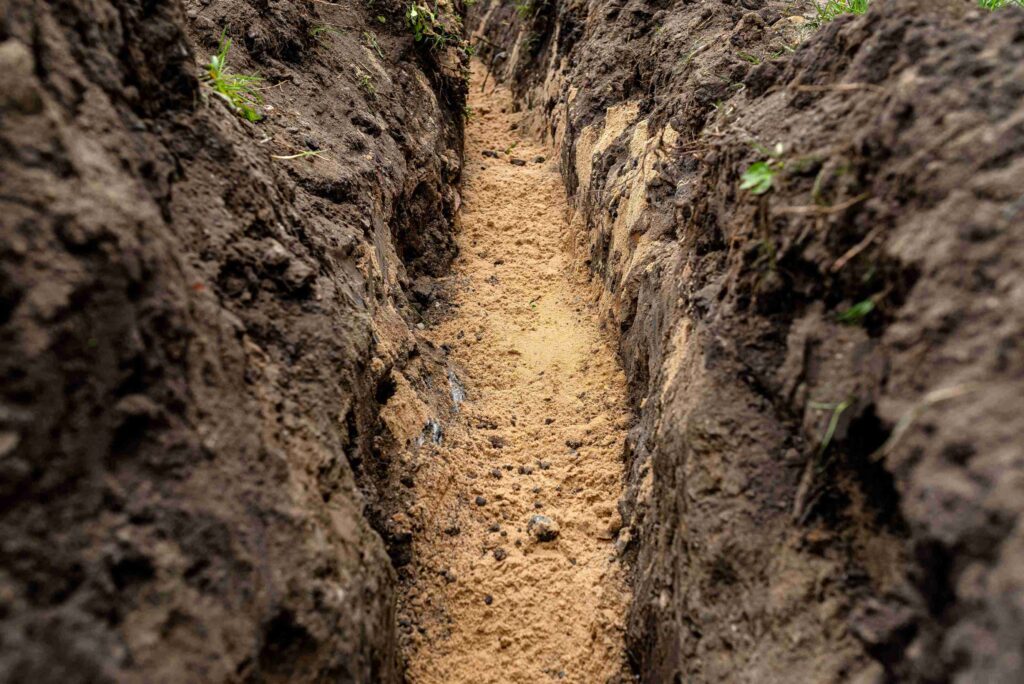
Installation matters just as much as material choice. Even the best fabric won’t help if it’s installed incorrectly or left with gaps. The idea is to fully separate soil from gravel on all sides.
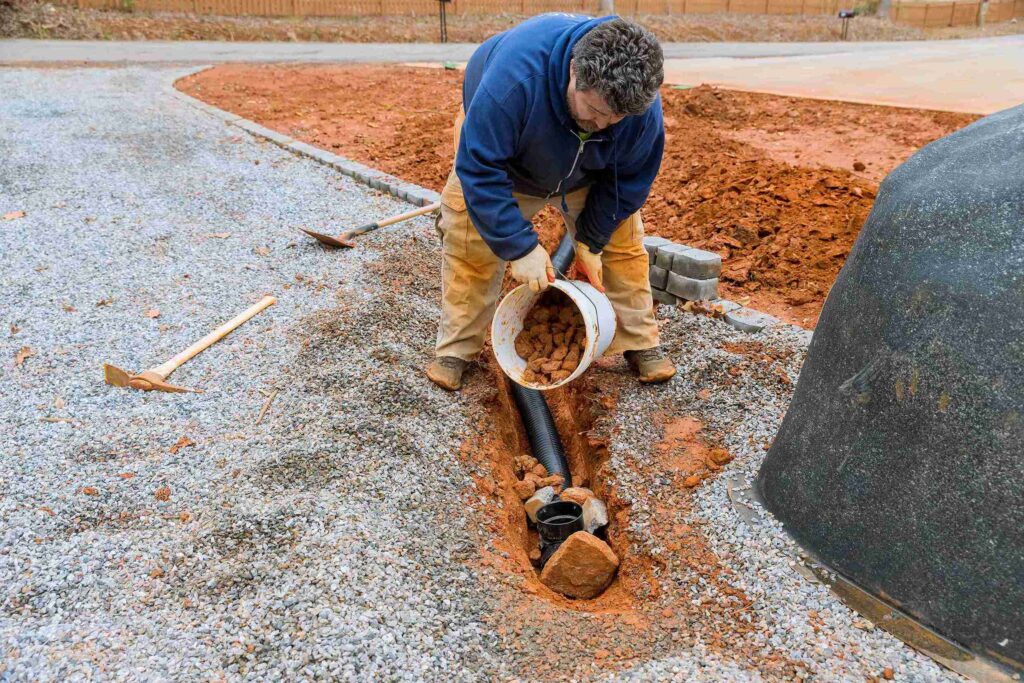
Here’s the basic process:
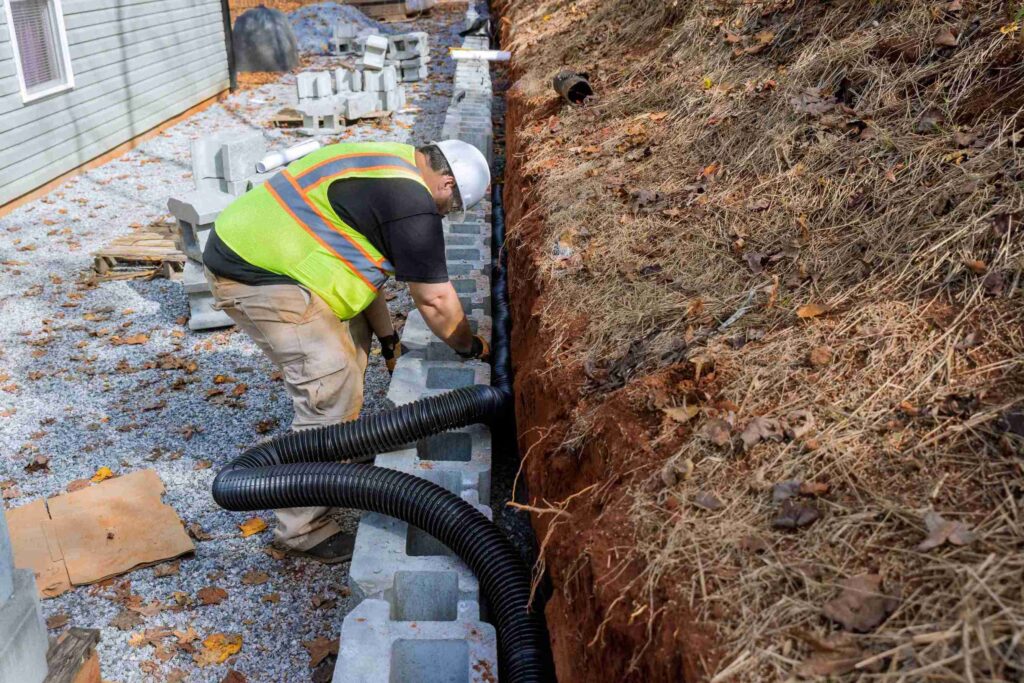
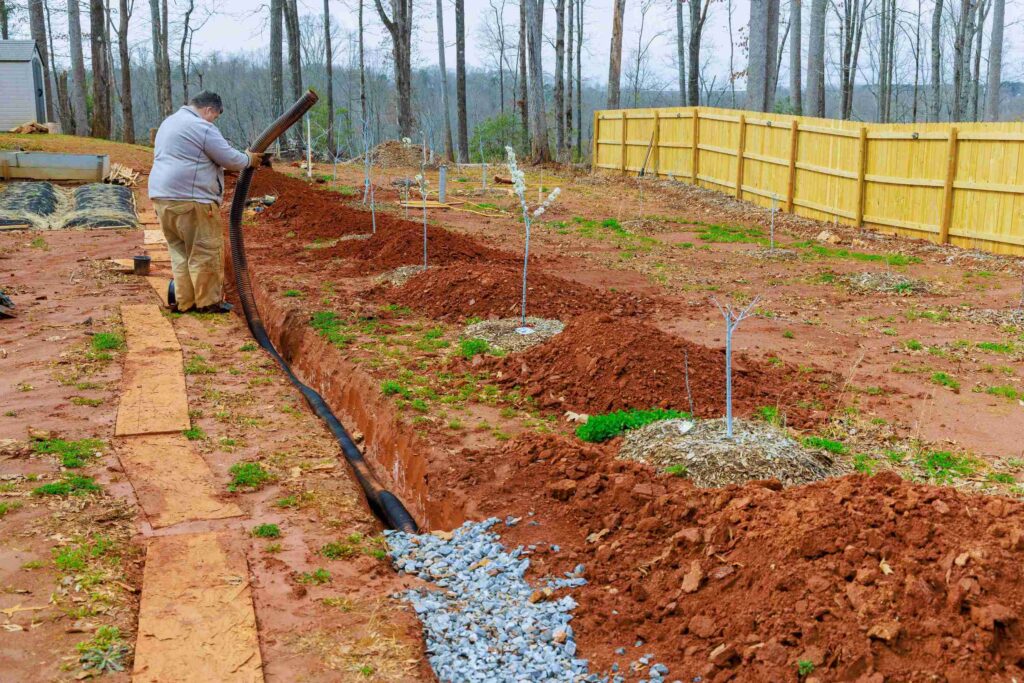
- Line the trench bottom and sides with fabric
- Add gravel, then place the perforated pipe
- Cover the pipe with more gravel
- Fold the fabric over the top before backfilling
That final step is the most important. Wrapping the gravel creates a complete barrier, almost like sealing everything in a burrito. Leaving the top open is one of the most common mistakes and defeats the whole purpose of using fabric in the first place.
Take your time during installation.
A few extra minutes adjusting the fabric now can save years of headaches later.
How Long Do Geotextile Fabric Lasts Underground?
High-quality geotextile fabric is designed to last decades underground.
It’s resistant to rot, mold, and most chemicals found in soil. Once buried and protected from sunlight, degradation happens very slowly.
In normal residential conditions, geotextile fabric can easily last 25 to 50 years.
Often, it outlasts the pipe itself!
That said, the longevity depends on soil type, water flow, and installation quality, but fabric failure is rarely the weak link in a French drain system.
That durability is another reason skipping it doesn’t make much sense.
It’s a one-time investment that keeps doing its job quietly for years.
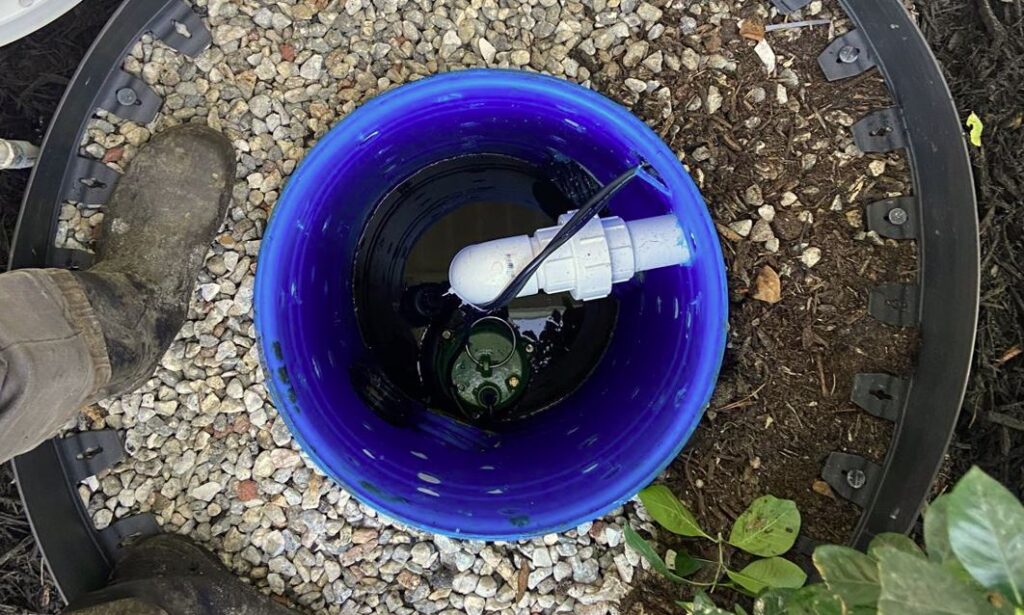
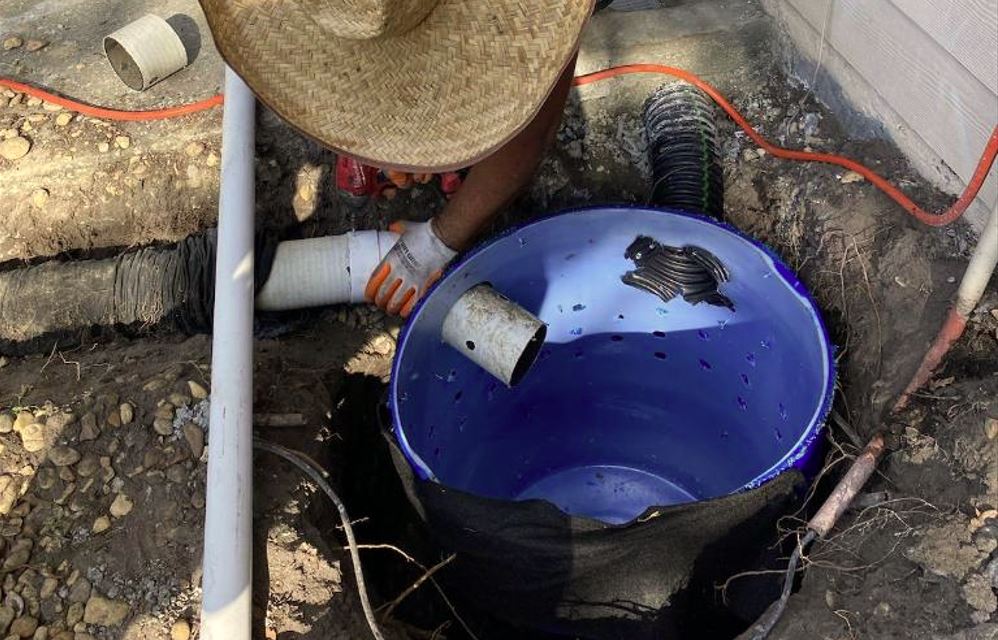
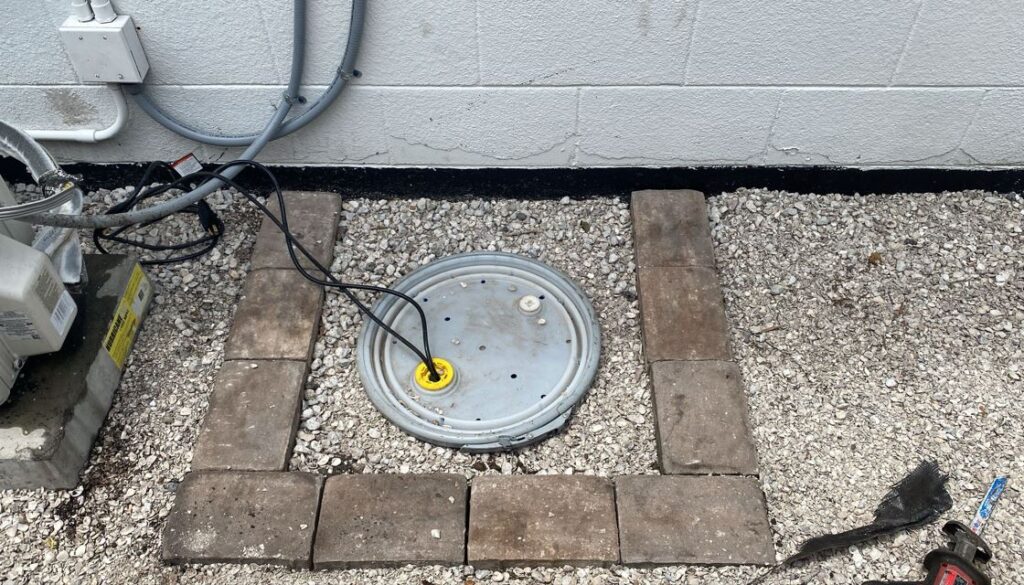
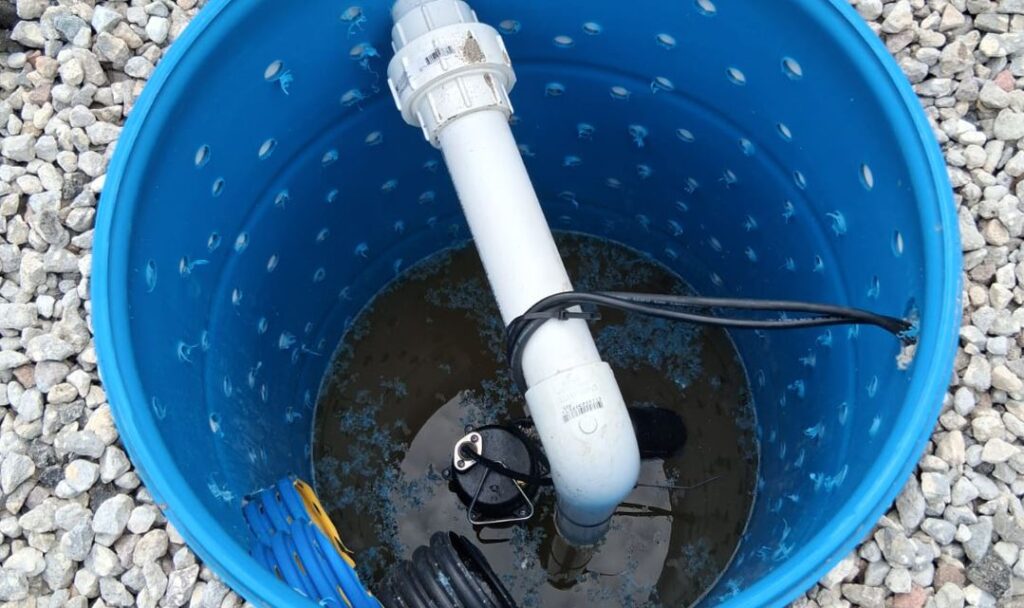
Also Read: Sump Pump Discharge Ideas
Do You Always Need Geotextile Fabric?
In most cases, yes.
Especially in clay, loam, or mixed soils, fabric is essential for long-term performance. These soils carry fine particles that clog drains quickly without proper filtration.
There are rare situations where fabric might be optional, like in very coarse, clean sand with excellent natural drainage. Even then, many professionals still use it because soil conditions change over time.
What drains well today may not behave the same after years of compaction and runoff.
If you’re already digging a trench and buying gravel and pipe, adding fabric is a small extra step that offers big protection.
Bottom Line
Building a French drain is a lot of work, and it’s tempting to cut corners when you’re three hours into digging a trench in the heat.
But if you take the time to pick out a quality 4 ounce non-woven geotextile fabric and wrap your system correctly, you’re ensuring that all that hard work actually pays off.
It keeps the mud out, keeps the water moving, and keeps your basement or crawlspace dry.
Just remember: non-woven is the way to go, and skipping the fabric is the fastest way to turn a weekend project into a recurring nightmare down the road.