Can You Do A French Drain Without Pipe?
So you’re dealing with a soggy yard or water pooling around your home, and someone suggests a French drain. But maybe you’re thinking, “Do I really need to deal with pipes and all that hassle?”
Good news – you actually can build a French drain without using a pipe.
Yep, it’s a thing. It’s called a rock-only or dry French drain, and it can work in the right conditions.
Now, this won’t be the best fix for everyone, but if you’re tackling minor drainage issues and like the idea of keeping things simple, this could be the way to go.
In this post, we’ll explain what a French drain without pipe actually is, how it works, and when it makes sense to use one.
What Is A French Drain Without A Pipe?
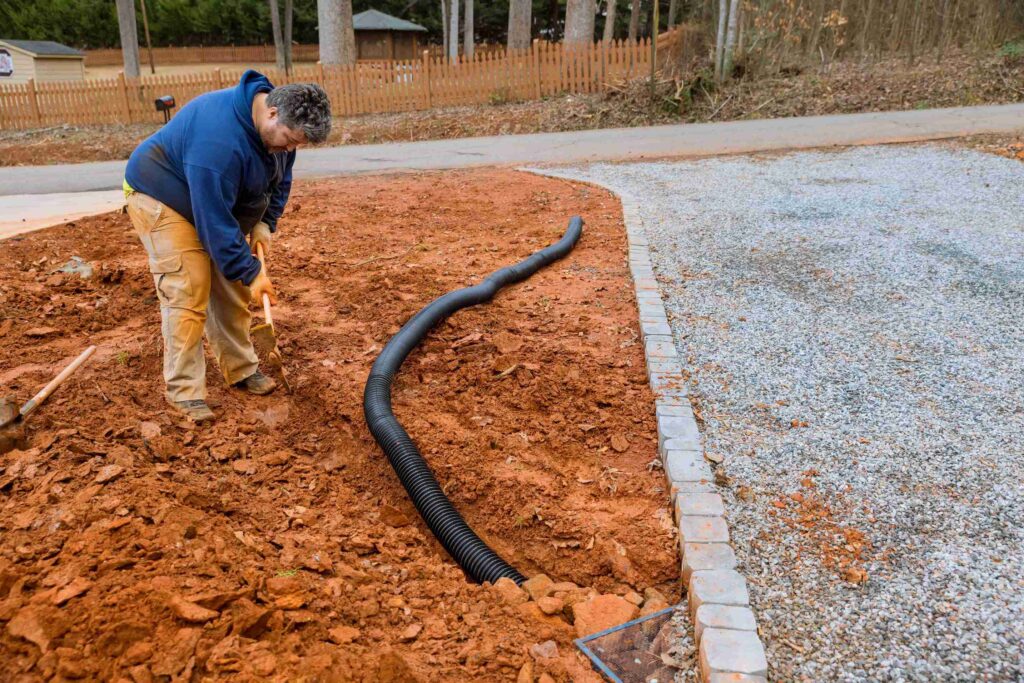
A traditional French drain usually includes a perforated pipe at the bottom of a gravel-filled trench.
The pipe helps carry water away from areas where you don’t want it, like around your foundation or under a soggy lawn. It’s a pretty common fix for drainage problems.
But a pipe-free French drain is simpler.
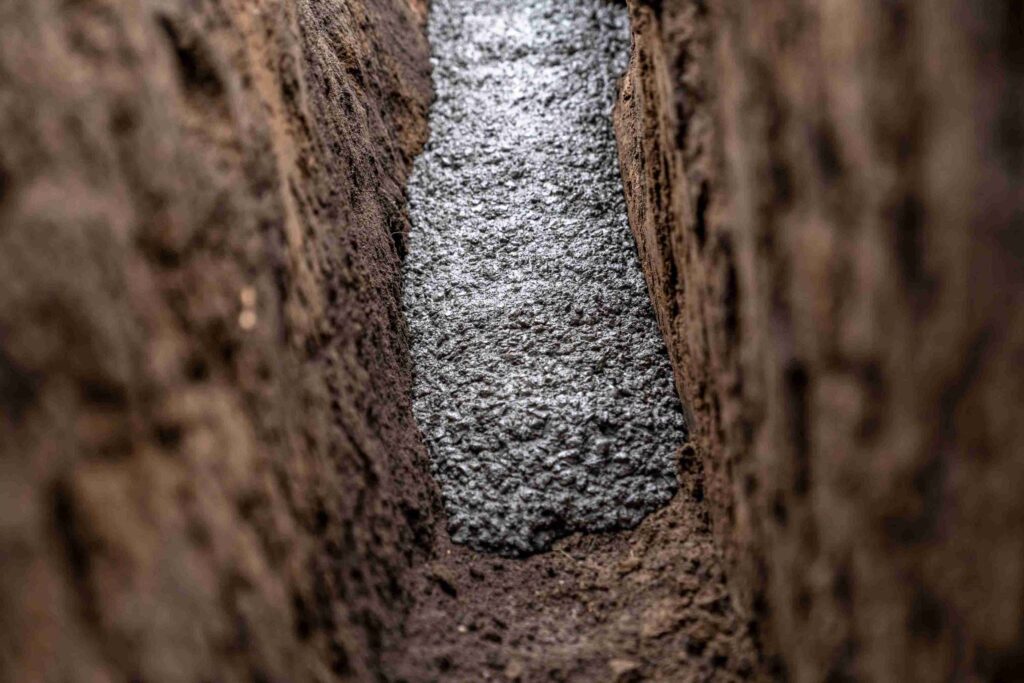
You still dig a trench, and you still fill it with gravel or crushed stone. But there’s no pipe buried inside. Instead of directing water through a pipe, you’re relying on the gravel to let water flow naturally through the trench and slowly filter into the surrounding soil or travel downhill and out the other side.
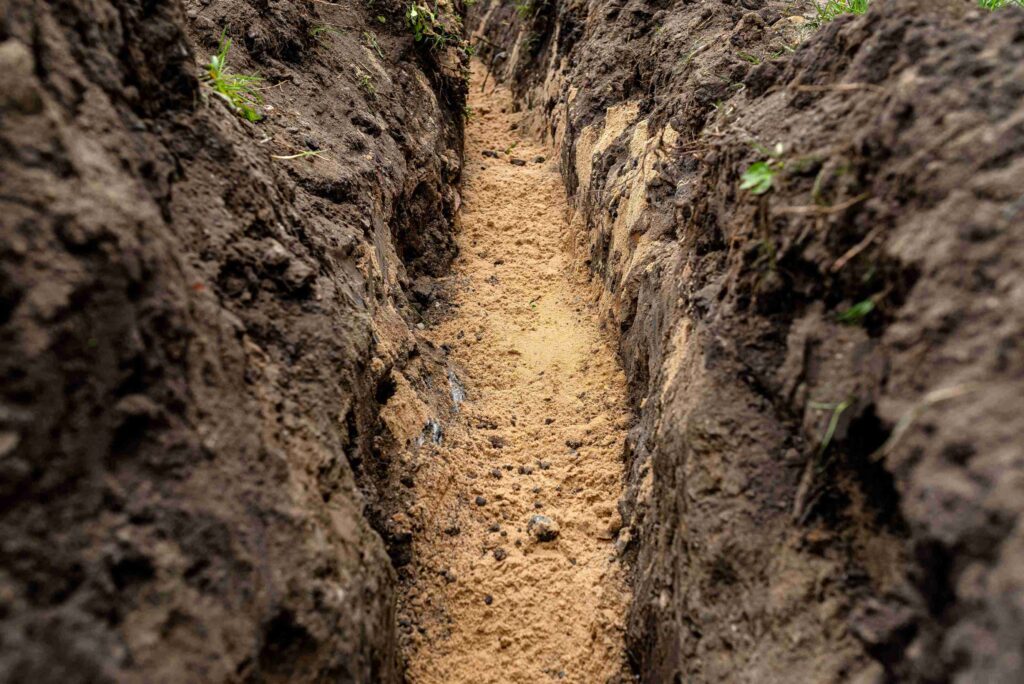
People also call this type a “dry trench” or “gravel drain.” It’s all the same idea – just rocks, fabric, and a little gravity doing the work.
How A French Drain Without Pipe Works
Here’s what happens when it rains and your French drain without pipes is in place:
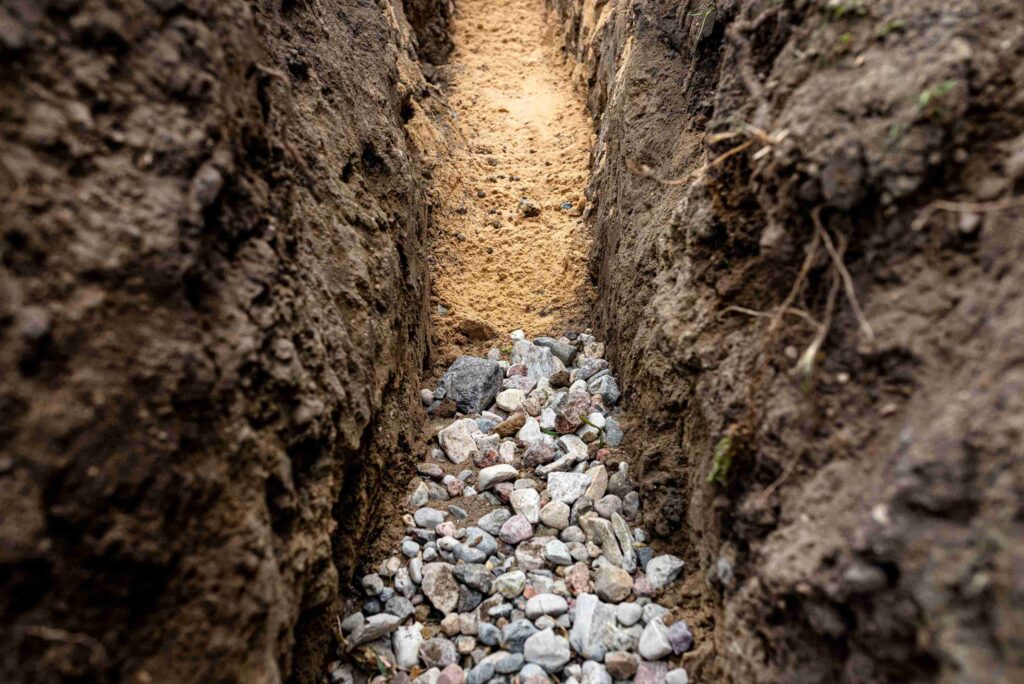
Water runs across your lawn and finds the gravel trench. The gravel offers way less resistance than compacted soil, so water naturally flows into it.
Once inside, the water filters through the rock and moves along the path of the trench.
Because there’s no pipe to speed things up, the trench has to rely on gravity and good sloping.
Also Read: How Much Does A French Drain Cost In Florida?
As the water moves along the trench, it either slowly soaks into the soil or exits somewhere safe, like a drainage ditch, a garden area, or a dry well.
Most people still use landscape fabric to keep soil and debris from clogging up the gravel. That part’s important. You want water to move through the gravel, not turn it into a muddy mess over time.
When Is It Okay To Skip The Pipe?
Now for the real question – when is it totally fine to leave the pipe out? Honestly, there are plenty of situations where it works just fine. Here’s when going pipe-free usually does the job:
- Your yard has sandy or loose soil that drains easily.
- You’re just dealing with light pooling or soggy spots after it rains.
- You’ve got a solid slope to help water move naturally downhill.
- It’s not handling water from gutters or a huge roof surface.
- You’re installing it in a garden or flower bed where appearance matters.
The important thing is that you’re not asking this drain to do anything too heavy-duty. Think of it as more of a “casual” drainage fix.

Also Read: Can You Drive Over A French Drain?
When You Should Definitely Use A Pipe
On the other hand, there are times when going pipe-free just isn’t going to cut it. In those cases, skipping the pipe could actually make things worse, or just waste your time and money.
Here’s when you really want to include a pipe:
- Your yard is mostly clay and drains slowly.
- Water is collecting near your house foundation or basement walls.
- You’ve got runoff from a big roof or driveway.
- The yard is flat and water has nowhere to go unless you give it help.
- You need to move water across a long distance.
If you’re dealing with any of these, adding a perforated pipe gives the water a clear, guided path to follow, and that makes a big difference.
A gravel trench alone just won’t cut it in tougher conditions.
Pros And Cons Of Going Pipe-Free
Going without a pipe sounds easier – and sometimes it is. But like most things, there are ups and downs. Let’s take a quick look at these:
| Pros | Cons |
| Less digging and no pipe to buy or install | Slower water movement, especially in poor soil |
| Fewer materials = lower cost overall | Doesn’t handle heavy rain or large volumes of water well |
| Great for minor issues and small spaces | More likely to clog over time if not lined properly |
| Looks more natural when done right | Limited to areas where gravity can do the work |
Basically, it’s a trade-off. If you’re okay with something simple and low maintenance (and your yard has the right conditions) it’s a solid choice. But don’t expect it to magically solve serious drainage problems.
Also Read: How Much Does Basement Waterproofing Cost In Florida?
Bottom Line
Yes, you can do a French drain without a pipe.
It’s a real method and it works in the right situations. If you’ve got decent soil, a gentle slope, and only mild drainage issues, a gravel-only French drain could be all you need.
But for bigger jobs, or if water’s a real problem around your house, skipping the pipe might just lead to frustration. Pipes help move water faster and farther, especially in clay-heavy or flat yards.
So it really comes down to your yard’s layout and how bad the drainage problem is.
If things seem too tricky, it’s always worth talking to a drainage pro. Sometimes just a quick look at your yard can save you a whole weekend of guesswork.