How To Unclog A French Drain (Easy Guide)
So, your yard is starting to look a little bit more like a swamp than a lawn, huh?
You look out the window after a heavy rain, expecting the water to just vanish into that fancy French drain you or the previous owner installed, but instead, there’s a giant puddle.
It’s frustrating, we know. But before you go out and hire a massive crew to rip up your entire landscape, take a deep breath.
Most of the time, a clogged French drain is something you can totally handle yourself.
In this post, we’ll show you how to unclog a french drain like a PRO.
Tools You’ll Want Before You Start
You don’t need anything fancy for this job. In fact, most homeowners already have what’s required sitting in the garage or shed.
Here’s what you’ll need:
- Garden hose with a spray nozzle or jet setting
- Plumbing snake or drain auger
- Shovel
- Sturdy gloves
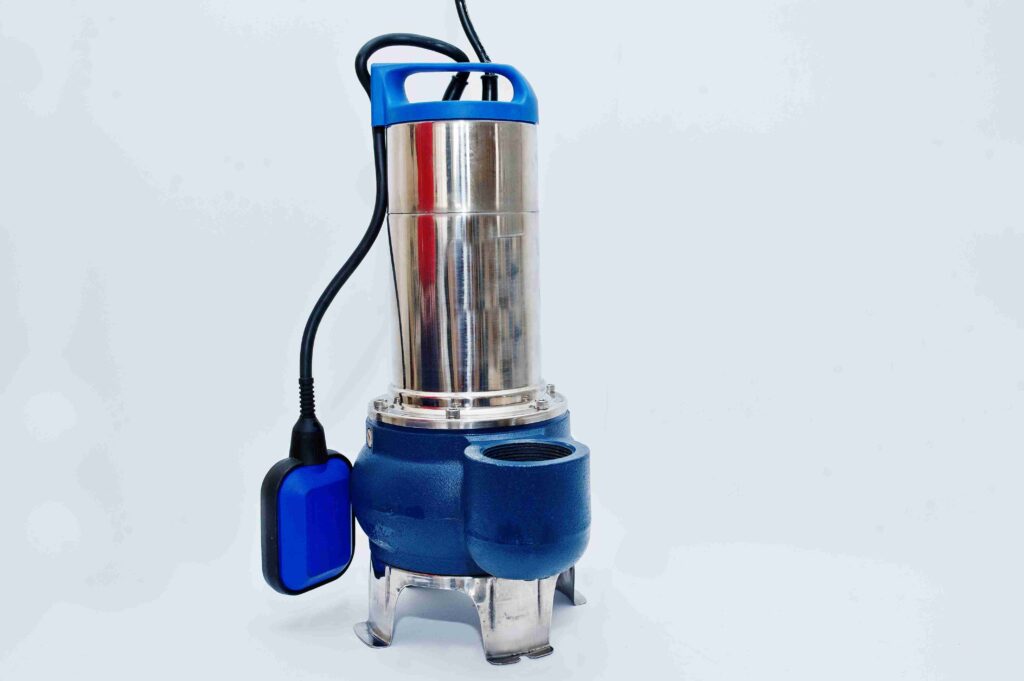
- Pressure washer (optional, but helpful)
Oh and you’ll also need some safety glasses because when that water hits a clog and splashes back, you don’t want it in your eyes.
That’s it. No special drain cameras or professional gear required.
If you end up needing more than this, we’ll talk about that later.
Also Read: How Deep Should A French Drain Be?
#1 Find The Outlet
First things first, you have to actually find where the water is supposed to be going.
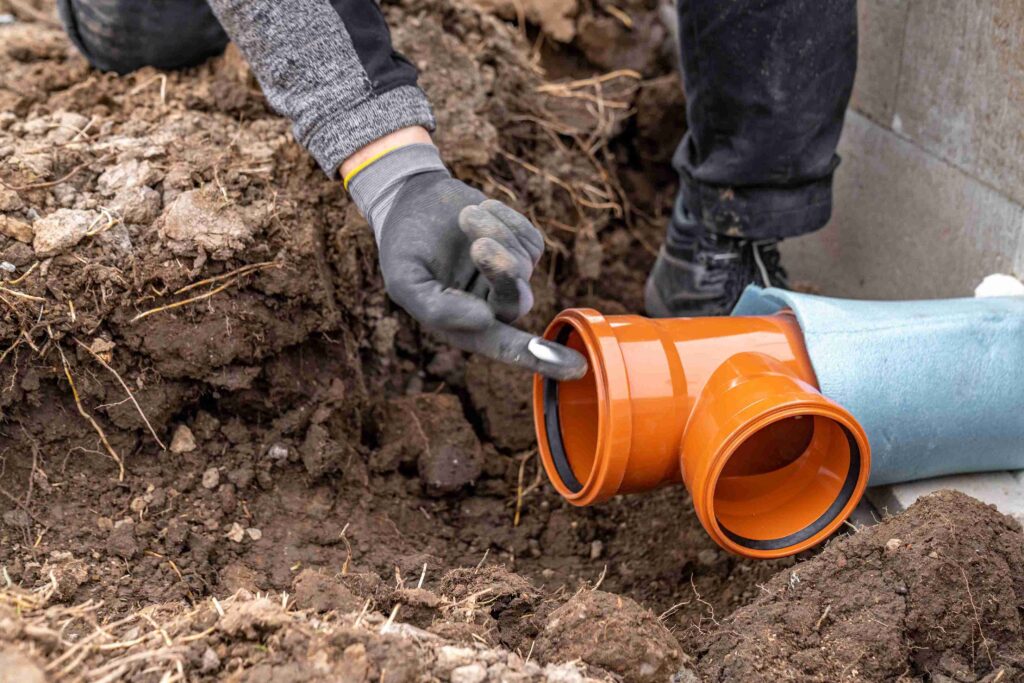
This sounds silly, but over time, grass, mulch, and dirt can completely bury the exit point of your French drain.
It’s usually at the lowest point of your property or maybe it leads out to the street curb. If you can’t find the end of the pipe, you’re basically flying blind.
Walk the perimeter of your yard and look for a plastic grate or the end of a black corrugated pipe.
Once you find it, clear away any overgrown weeds or piled-up leaves that might be physically blocking the opening.
Sometimes, the “clog” is literally just a pile of wet leaves sitting right at the exit, and clearing those away solves your problem in about five seconds.
#2 Flush With Water
Once the exit is clear, it is time to see what we are dealing with.
Head over to the “inlet” side (that’s the grate in your yard where the water goes in) and stick your garden hose down there. Turn it on full blast and just let it run for a while.
If you see water trickling out the other end, that is a fantastic sign!
It means the pipe isn’t totally blocked and you might just have some loose silt or sand in there.
If the water starts backing up and flowing out of the inlet instead of the outlet, you’ve got a solid blockage somewhere in the middle.
Keep the hose running for a bit to see if the weight of the water can push the clog through on its own. In some cases, steady water pressure alone is enough to clear things out if the drain is only partially clogged.
Also Read: Can You Do A French Drain Without Pipe?
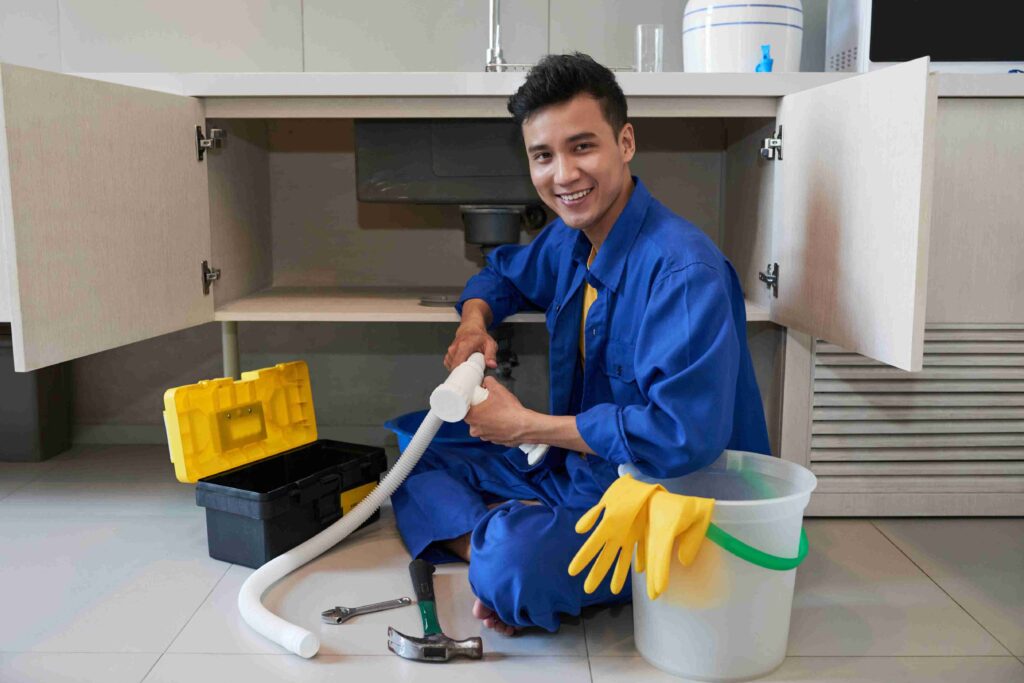
#3 Snake The Pipe
If flushing doesn’t fully solve the problem, it’s time to bring in the snake.
You’ll want to feed the snake into the pipe starting from the outlet side if possible, as pulling the clog out is often easier than trying to push it further down the line.
Twist and turn the cable as you feed it in, and when you feel resistance, don’t just ram it.
Gently work it back and forth to break up the mass.
It might be a clump of hair, a nest of wet leaves, or even some small tree roots that found their way through the perforations in the pipe. Keep at it until you feel the tension give way and the snake moves freely through the length of the drain.
This step can take a bit of time, but it’s usually the moment when things start to improve. Once the snake moves freely and comes back cleaner than before, you’re on the right track.
#4 Pressure Wash (If Needed)
Sometimes a snake just pokes a hole through a clog rather than actually clearing it out.
If you’ve still got slow drainage, a pressure washer with a “sewer jetter” attachment can help.
These attachments have little nozzles that spray water backward, which actually pulls the hose deeper into the pipe while scrubbing the walls clean.
It is incredibly satisfying to watch all that black, murky sludge come pouring out of the end of the pipe.
Just be careful not to use too much pressure if you have older, thinner pipes, as you don’t want to accidentally crack the drain while you’re trying to save it.
#5 Check The Flow
Now that you’ve done the hard work, it’s time for the victory lap.
Put the garden hose back in the inlet and turn it on.
What you want to see is a nice, steady stream of clear water coming out of the outlet.
If the water is flowing fast and isn’t backing up at all, you are officially in the clear.
If it’s still struggling, you might have to repeat the snaking or pressure washing process one more time to get those last bits of debris out.
Once you are satisfied with the flow, put all your grates back on and make sure they are screwed down tight so you don’t have to do this again next week.
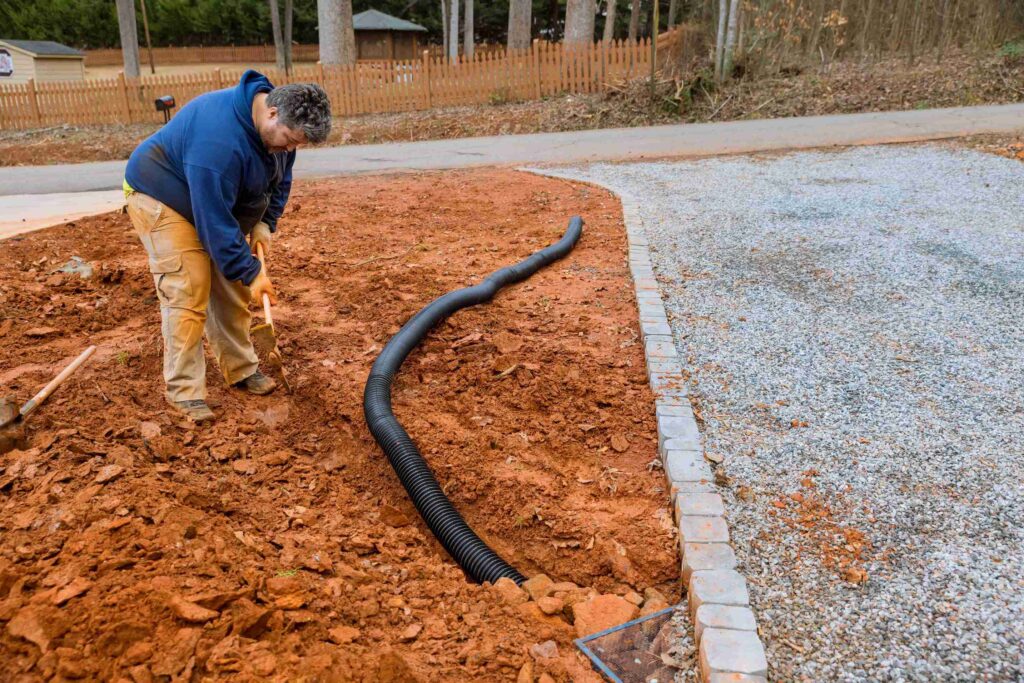
When Digging Becomes Necessary
We hate to be the bearer of bad news, but sometimes a French drain is just beyond a simple DIY cleaning.
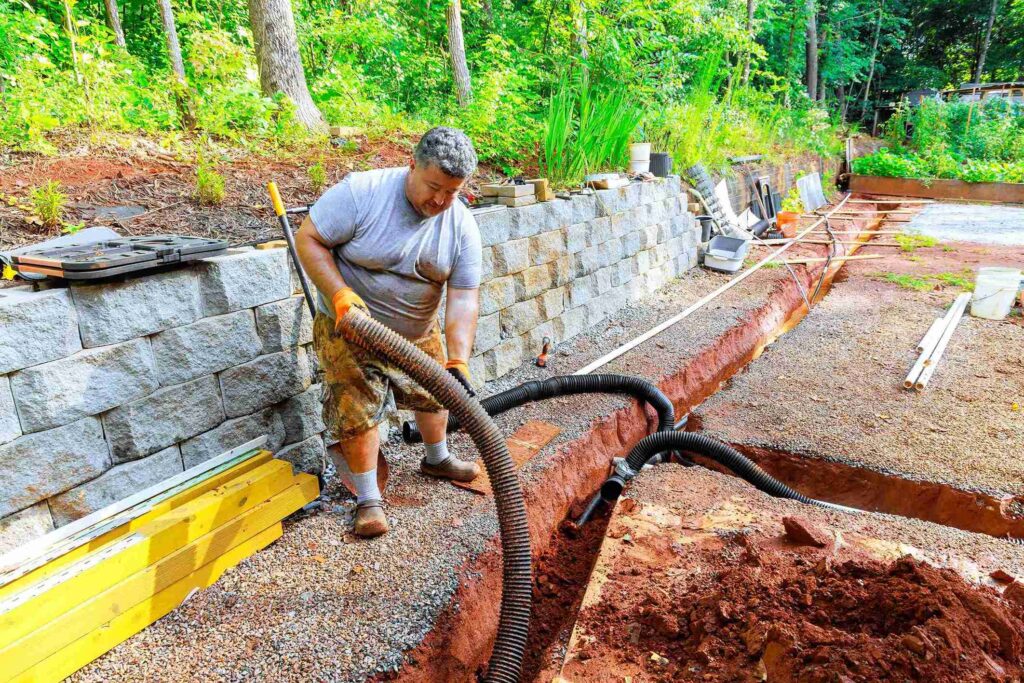
If you’ve tried the hose, the snake, and the pressure washer and nothing is moving, the pipe might actually be crushed.
This happens sometimes if a heavy vehicle drove over it or if the ground shifted significantly.
Another culprit could be massive tree roots that have completely invaded the pipe and turned it into a woody mess.
If the pipe is collapsed, the only real fix is to dig up that section and replace it. It’s a bit of a workout, but replacing a five-foot section of pipe is still way cheaper than a whole new system.
Also Read: Can You Drive Over A French Drain?
What Clogs A French Drain?
It helps to know what you’re up against so you can prevent it in the future. Most French drains fail because of one of a few common suspects:
- Fine soil and sediment washing into the pipe
- Tree roots growing into small gaps or joints
- Broken or deteriorated filter fabric
- Crushed pipe from foot traffic or vehicles
Most of these issues build up over time, which is why routine checks matter more than people realize.
Bottom Line
Unclogging a French drain isn’t exactly the most glamorous way to spend a Saturday, but it is one of those home maintenance tasks that feels incredibly rewarding once it’s done.
Start at the outlet, use water and a snake before reaching for heavy tools, and only dig when everything else fails.
Most clogs clear with a little patience and the right approach.
Keep the outlet clean, flush the system occasionally, and your French drain will quietly do its job for years without demanding much attention at all.