Simple Steps To Waterproofing Exterior Walls
As a homeowner, I know how important it is to protect my investment from the elements. One of the most crucial aspects of home maintenance is waterproofing exterior walls. Without proper waterproofing, water can seep into your walls and cause damage to your home’s structure, as well as create an environment that is conducive to mold and mildew growth.
Fortunately, the process of waterproofing your walls is not as complicated as it may seem. With a little bit of knowledge and some elbow grease, you can protect your home from water damage and ensure that it remains a safe and comfortable place to live for years to come.
In this article, I will walk you through the simple steps to waterproofing, from preparation to application to testing for moisture. So let’s get started!
Table of Contents
TogglePreparation for Waterproofing
Before waterproofing its important to patch and sand any cracks or holes to ensure a smooth surface for the waterproofing material to adhere to. This will prevent any water from seeping through the gaps and damaging the walls.
Additionally, it’s important to let the surface dry completely before applying the waterproofing material to ensure proper adhesion and a long-lasting seal.
Patching and Sanding Cracks
After fixing any cracks or holes in the foundation walls, it’s important to patch up any remaining surface imperfections before moving on to waterproofing. This can be done using various repair techniques, such as filling gaps with caulk or using the patching compound to smooth out rough spots.
Once the surface is repaired, sanding tools can be used to create a smooth and even finish. Sanding is a crucial step in the preparation process, as it creates a clean and stable surface for the waterproofing material to adhere to.
Sanding tools such as sandpaper, sanding sponges, and sanding blocks can be used to smooth out any remaining rough spots or inconsistencies in the previously painted surface or bare masonry and concrete. It’s important to take your time and ensure that the surface is completely smooth before moving on to the next step, as any remaining imperfections can compromise the effectiveness of the waterproofing.
By taking the time to patch and sand the outside walls, you’ll ensure that the waterproofing material can properly adhere to and protect your home from moisture damage.
Drying Damp Walls for Proper Adhesion
To ensure proper adhesion of the waterproofing material, it’s crucial to detect any moisture on the surface of the exterior walls. Before proceeding with any other steps, it’s important to ensure that the surface is completely dry. This can be done using a moisture detection tool, which can accurately detect any moisture present on the surface.
Once you’ve determined that the surface is dry, you can move on to the next step. The next step involves cleaning the surface of the walls thoroughly. This is important to ensure that there is no dirt, debris, or other contaminants on the surface that could hinder the adhesion of the waterproofing material.
Once you’ve cleaned the surface, you need to control the temperature of the area. It’s recommended to apply the primer when the temperature is between 50°F and 90°F. After applying the primer, you need to allow sufficient drying time before applying the waterproofing material. Typically, it takes around 24 hours for the primer to dry completely, but this can vary depending on the temperature and humidity levels.
Once the primer is dry, you can apply the waterproofing material next!
Choosing the Right Method to Waterproof Exterior Walls
When it comes to choosing the right method to waterproof walls, I’ve found that there are three key options to consider:
- Silicate wall sealers are a popular choice as they penetrate deep into the walls and create a strong bond with the surface.
- Waterproofing paints are another option that can be used on a variety of surfaces and come in different colors.
- Plaster additives for concrete can also be used to create a waterproof barrier and improve the overall durability of the wall.
Remember to group complete sentences on their own lines, with a double new line after.
Silicate Wall Sealers
Silicate wall sealers are a cost-effective and easy way to prevent water damage to your exterior walls. These are composed of potassium silicate, a compound that reacts with the minerals in the concrete or masonry of your walls to create a waterproof barrier. It’s a popular choice for many homeowners due to its long-term efficacy in preventing water damage and its compatibility with different wall materials.
Using silicate wall seal also has a positive environmental impact because it doesn’t contain harmful chemicals that can harm the environment. Additionally, it’s a cost-effective option compared to other methods of waterproofing. The application techniques for sealants are also relatively simple. It can be applied using a brush, roller, or sprayer.
With all these benefits, it’s no surprise that silicate wall sealants are becoming a popular option for those looking to waterproof their walls.
Waterproof Paints
You may want to consider paints for your walls if you’re looking for an easy and affordable way to protect your home from moisture damage. Waterproofing techniques are essential to stop water infiltration through walls that may cause structural damage, mold growth, and other problems that can compromise your home’s safety.
There are various benefits of waterproofing, including increasing the durability of your walls, improving energy efficiency, and reducing the need for costly repairs due to water and moisture (dampness). There are different types of caotings available in the market, including latex, acrylic, and epoxy-based paints.
These paints can be applied easily using a brush, roller, or sprayer, and they offer an excellent way to seal your walls against moisture. DIY waterproofing with these paints can be a cost-effective solution for homeowners who have limited budgets. However, if you have severe moisture problems or if you want to ensure long-term protection for your home, it’s best to opt for professional waterproofing services.
Plaster Additives for Concrete to Prevent Water Ingress
If you’re looking to enhance the strength and durability of your concrete walls, try adding plaster additives to the mix. Plaster additives are materials that are mixed with plaster or concrete to improve their properties. Here are some benefits and drawbacks of using plaster additives, as well as some tips on how to use them effectively.
- Benefits: Plaster additives can improve the strength and durability of concrete walls. They can also increase the resistance to water, chemicals, and abrasion. Additionally, they can improve the workability and pumpability of the concrete or plaster, making it easier to apply.
- Drawbacks: Plaster additives can be expensive and may require special mixing techniques. They can also affect the curing time and may not be compatible with other materials used in the construction process.
- Mixing techniques: The exterior plaster additives should be added to the mix according to the manufacturer’s instructions. It’s important to ensure that the mixture is thoroughly mixed to ensure an even distribution of the additives.
- Curing time: The curing time of the concrete or plaster may be affected by the use of plaster additives. It’s important to follow the manufacturer’s instructions and allow the mixture to cure before applying any additional layers or coatings.
In terms of cost-effectiveness, plaster additives may be a good investment for those looking to improve the strength and durability of their concrete walls. However, it’s important to weigh the benefits and drawbacks before making a decision. With the right mixing techniques and proper curing time, plaster additives can be an effective way to waterproof external walls.
Applying your Waterproofing or Membrane
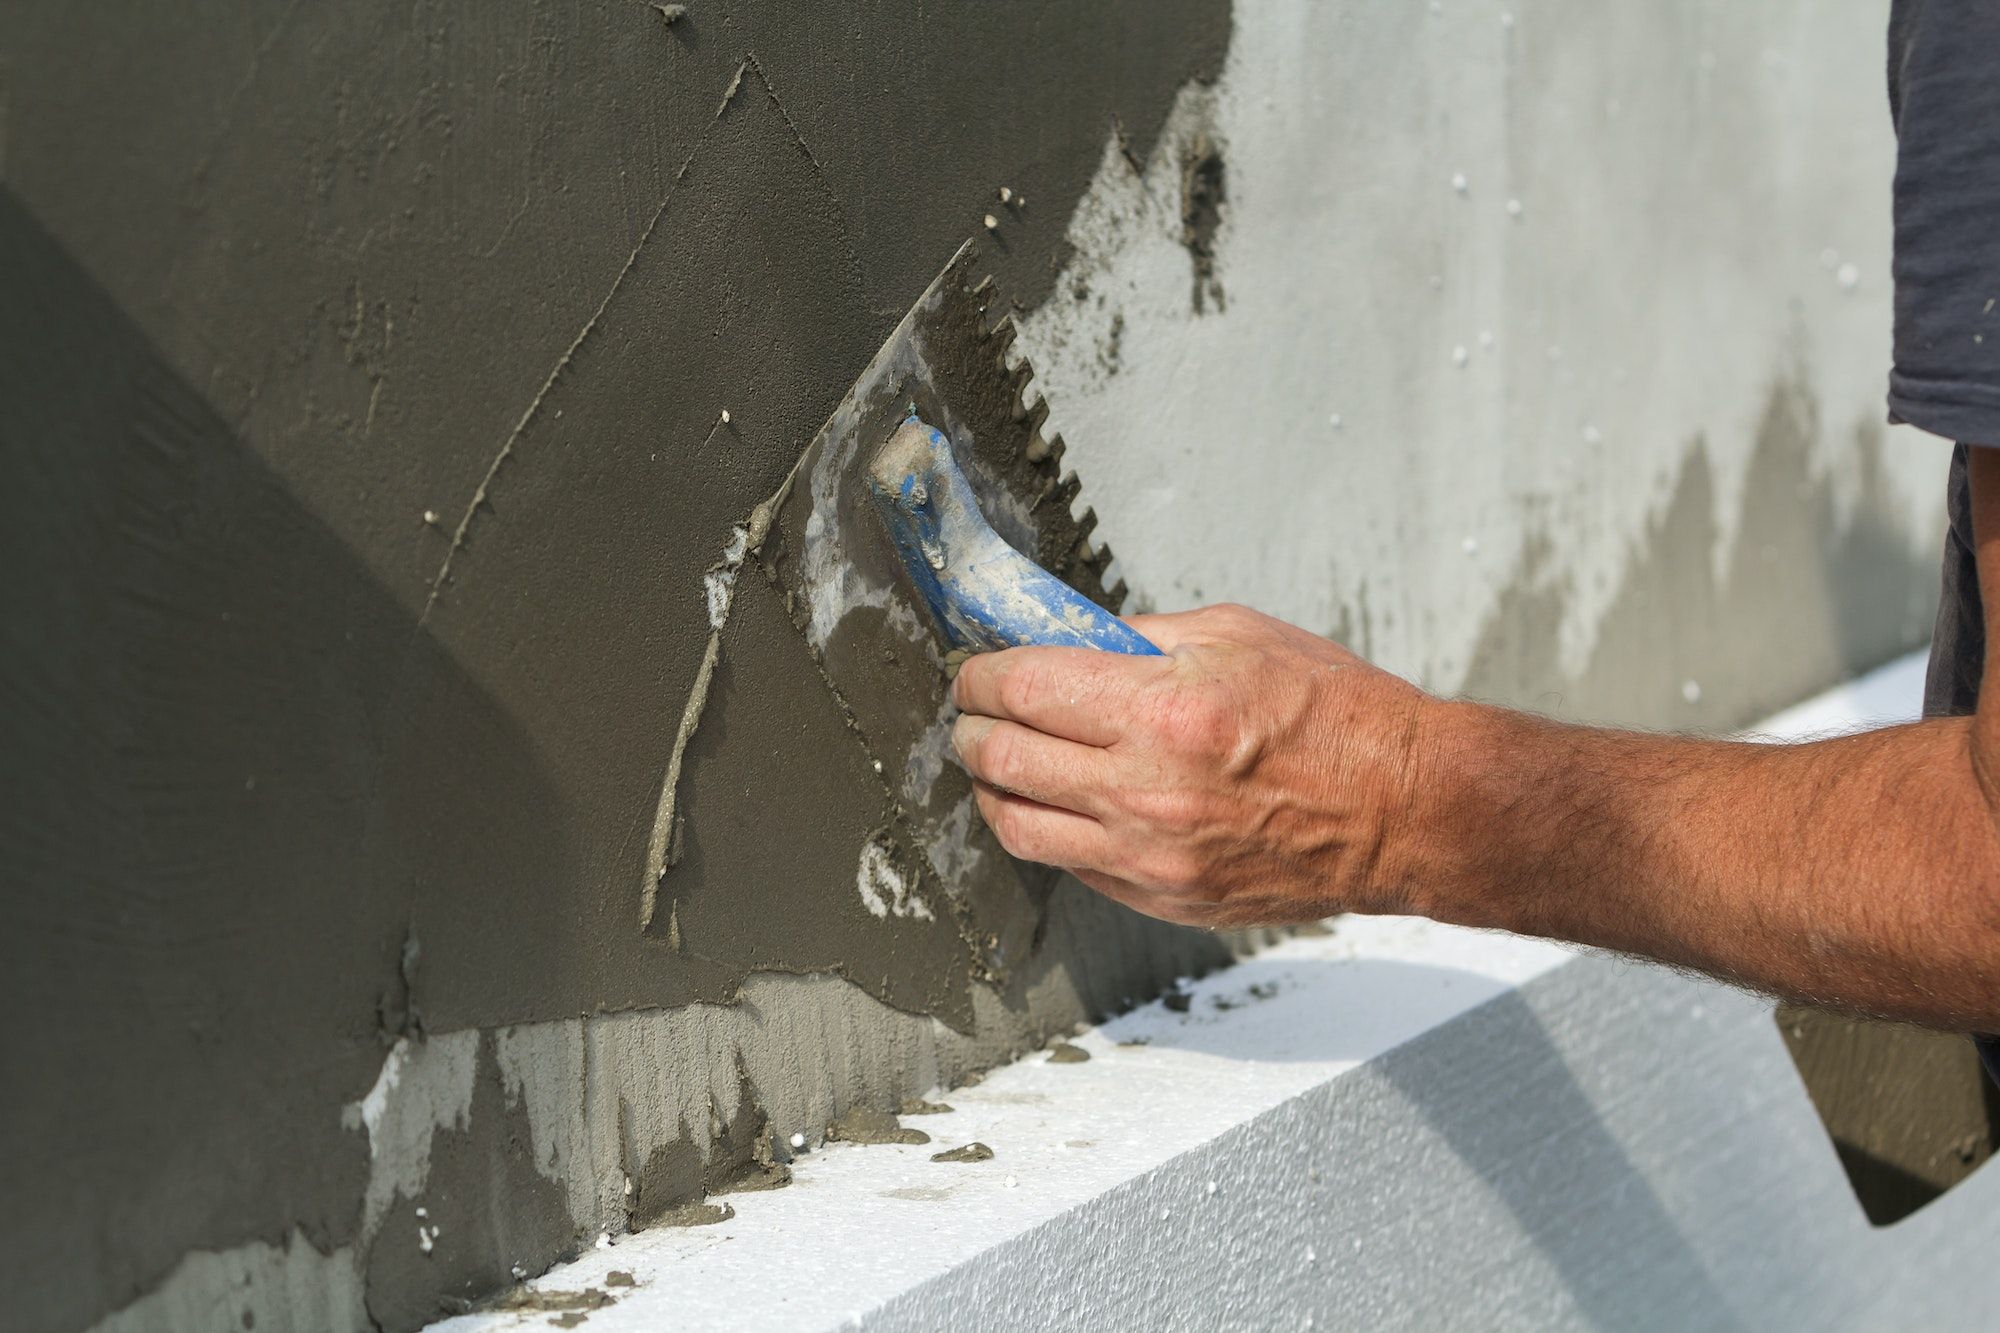
Once the walls are properly cleaned and prepped, it’s time to start applying the waterproof to protect against moisture and water getting inside. Before starting, make sure to read the manufacturer’s instructions thoroughly. This will give you a good idea of the drying time, coverage considerations, and weatherproofing options. You should also take note of any technique tips that are included to ensure you get the best results from your waterproofer.
When it comes to applying the waterproofer, you have a few options for tools. You can use a roller, a brush or a sprayer. The choice you make will depend on the size and complexity of the job, as well as your own personal preference.
Once you’ve decided on the tool you’ll use, make sure to apply the waterproofer evenly and with a consistent thickness. This will ensure that your walls are properly protected against moisture and water damage, giving you peace of mind for years to come.
Testing for Moisture
To test for moisture, grab a moisture meter and press it against the surface of your wall. This tool detects moisture by measuring the electrical resistance of the material and is a great way to test the effectiveness of the products used. There are different types of moisture meters available, so make sure to choose the one that fits your needs.
Some are designed specifically for wood, while others are better suited for concrete or plaster. When testing for moisture, it’s important to use the right technique to get accurate results. Make sure to take several readings in different areas of the wall, especially near windows, doors, and corners.
Interpreting the results can be tricky, so it’s a good idea to consult with a professional if you’re not sure what they mean. Finally, preventing future moisture is key to maintaining a waterproof exterior. Regular inspections and maintenance can help you catch any problems before they become major issues.


